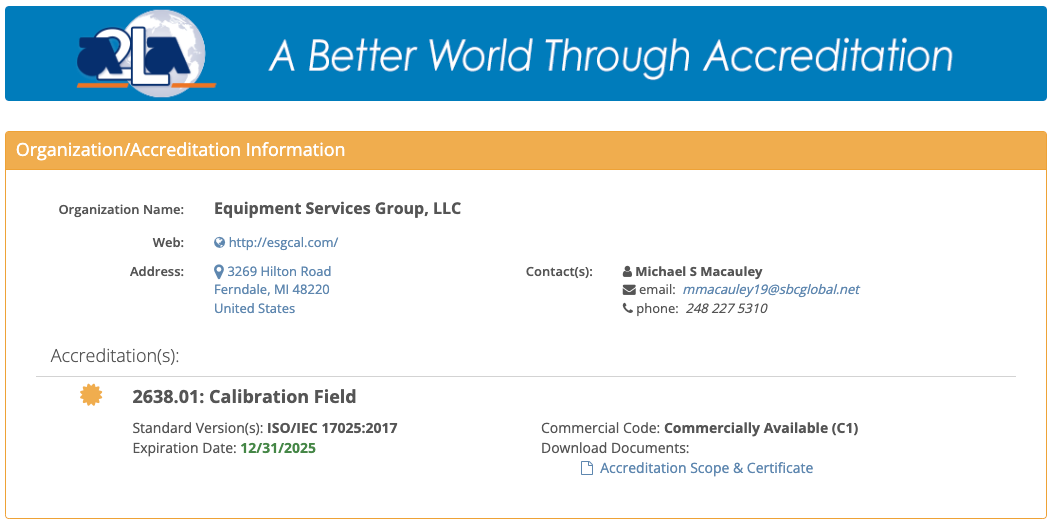
Calibration Certification Accredited Provided By A2LA
Equipment Services Groups is regularly audited by the “American Association for Laboratory Accreditation” (A2LA) for the processes and services that we provide. A2LA is an internationally-recognized accreditation body in the United States that offers a full range of comprehensive laboratory and laboratory-related accreditation services and training. If you would like to view our accreditation at A2LA, click here.
Calibration Certification Scope of Work
We are fully accredited to verify and calibrate all of your environmental test chambers. Below and attached is a complete list of all the equipment used in measuring Acoustical & Vibration, DC and Low Frequency Electrical Voltage, Thermocouple Simulation for temperature conditions and Relative Humidity. Attached is the official A2LA document of our scope of work.
Valid To: December 31, 2023
In recognition of the successful completion of the A2LA evaluation process, accreditation is granted to this laboratory to perform the following calibrations:
-
Calibration Certification: Electrical – DC/Low Frequency
| Parameter/Equipment | Range | CMC 2, 4 (+/-) | Comments |
|---|---|---|---|
| DC Voltage – Measure3 | (0 to 110) mV (0 to 1.1) V (0 to 11) V (0 to 110) V (0 to 300) V |
0.029 % + 20 μV 0.029 % + 0.065 mV 0.029 % + 0.66 mV 0.058 % + 6.4 mV 0.057 % + 21 mV |
Fluke 743B |
| DC Voltage – Generate3 | (0 to 110) mV (0 to 1.1) V (0 to 15) V |
0.011 % + 6.8 μV 0.011 % + 0.065 mV 0.012 % + 0.87 mV |
Fluke 743B |
| DC Current – Generate3 | (2 to 22) mA | 0.013 % + 3.7 μA | Fluke 743B |
| Resistance – Measure3 | (0 to 110) Ω (0 to 1.1) kΩ (0 to 11) kΩ |
0.058 % + 0.06 Ω 0.058 % + 0.58 Ω 0.12 % + 12 Ω |
Fluke 743B |
| Resistance – Generate3 | (0 to 11) Ω (0 to 110) Ω (0 to 1.1) kΩ (0 to 11) kΩ |
0.011 % + 0.023 Ω 0.011 % + 0.047 Ω 0.023 % + 0.58 Ω 0.03 % + 6.0 Ω |
Fluke 743B |
| Thermocouple Simulation3
Type J Type K Type T |
(-210 to -100) ºC (-100 to 800) ºC (800 to 1200) ºC (-200 to -100) ºC (-250 to -200) ºC |
0.44 ºC 0.34 ºC 0.33 ºC 0.55 ºC 1.2 ºC |
Fluke 743B |
| RTD Simulation3
100 Ω, Pt (3926) 100 Ω, Pt (385) 100 Ω, Pt (3916) |
(-200 to 0) ºC (0 to 630) ºC (-200 to 0} ºC (-200 to -190) ºC |
0.26 ºC 0.33 ºC 0.24 ºC 0.40 ºC |
Fluke 743B |
-
Calibration Certification: Mechanical
| Parameter/Equipment | Range | CMC 2, 4 (+/-) | Comments |
|---|---|---|---|
| Pressure3 Gages and Transducers |
(0 to 200) psig | 0.19 psig | Fluke 743B and Fluke 700PD7 Pressure Transducer |
-
Calibration Certification: Thermodynamics
| Parameter/Equipment | Range | CMC 2, 4 (+/-) | Comments |
|---|---|---|---|
| Relative Humidity3 Measure |
(10 to 90) % RH (90.1 to 95) % RH |
1.9 % RH 2.6 % RH |
Vaisala Temperature and Humidity Indicator |
| Temperature – Measure3 |
(-70 to 200) ºC(-40 to 125) ºC | 1.2 ºC0.65 ºC | Fluke 743B w/ Type TSLE TCFluke 743B w/ PRT |
Calibration Certification: Stipulations
1This laboratory offers commercial calibration service and field calibration service.
2Calibration and Measurement Capability (CMC) is the smallest uncertainty of measurement that a laboratory can achieve within its scope of accreditation when performing more or less routine calibrations of nearly ideal measurement standards or nearly ideal measuring equipment. Calibration and Measurement Capabilities represent expanded uncertainties expressed at approximately the 95 % level of confidence, usually using a coverage factor of k = 2. The actual measurement uncertainty of a specific calibration performed by the laboratory may be greater than the CMC due to the behavior of the customer’s device and to influences from the circumstances of the specific calibration.
3Field calibration service is available for this calibration and this laboratory meets A2LA
R104 – General Requirements: Accreditation of Field Testing and Field Calibration Laboratories for these calibrations.
Please note the actual measurement uncertainties achievable on a customer’s site can normally be expected to be larger than the CMC found on the A2LA Scope. Allowance must be made for aspects such as the environment at the place of calibration and for other possible adverse effects such as those caused by transportation of the calibration equipment.
The usual allowance for the actual uncertainty introduced by the item being calibrated, (e.g. resolution) must also be considered and this, on its own, could result in the actual measurement uncertainty achievable on a customer’s site being larger than the CMC.
4The measurands stated are generated with the Fluke 743B instruments. This capability is suitable for the calibration of the devices intended to measure the stated measurand in the ranges indicated. CMC’s are expressed as either a specific value that covers the full range or as a fraction/percentage of the reading
plus a fixed floor specification.


